INSTALLATION PHOTOS
Unlike other filters on the market,
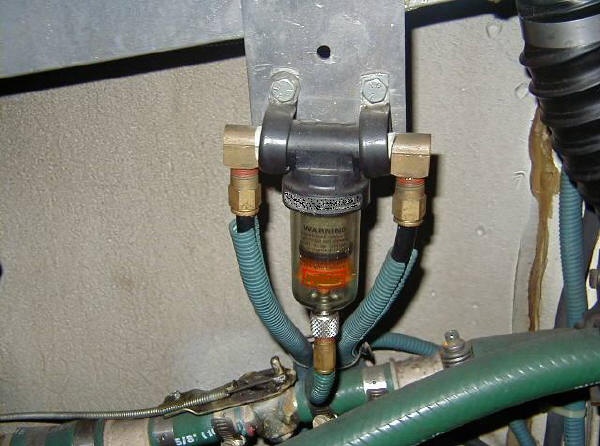
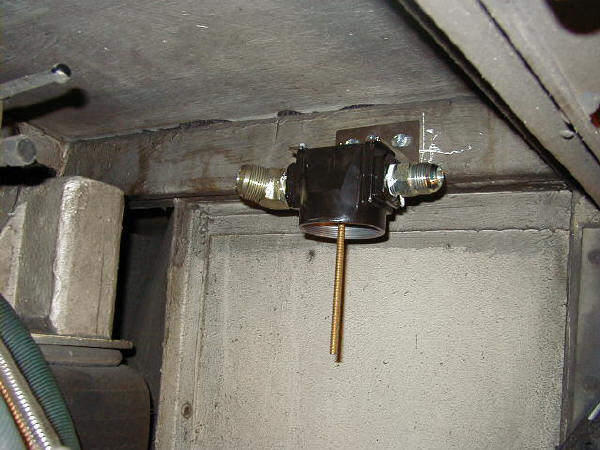
the main filter below is
shown being installed in the bus engine compartment. This is the best
place as the oil is removed before it enters the air system of the bus.
Others have tried putting the filters in the front of the bus,
only to see the main line going from the compressor to the filter clog.
The filter belongs where the damage starts: in or near the engine
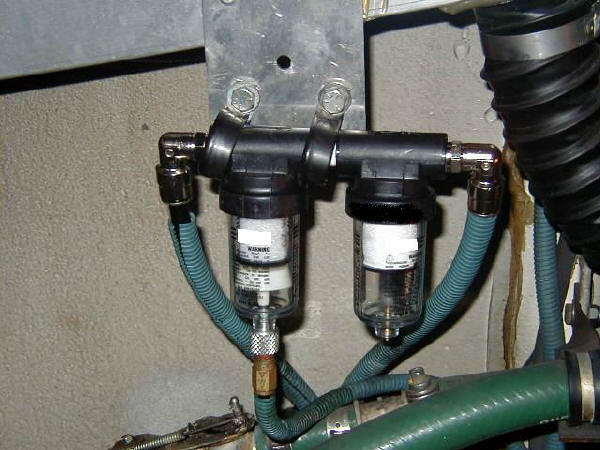
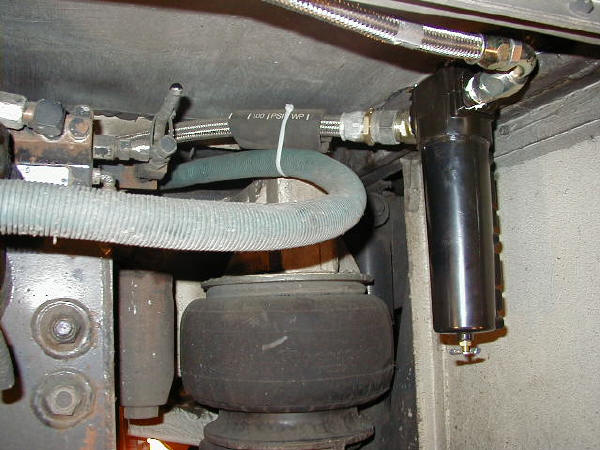
compartment! The two supplemental filters are shown being installed near the
front door and over the rear door. They provide even more protection to
easily damaged door valve components.
In the following Orion® bus installation, the oil/carbon separator kit will control contamination of the air system by oil migrating from the bus compressor.
The following photographs show how simple installation of an
oil/carbon separator system can be.
Directions:
Shut off front door air valve located in driver's compartment.
Open defroster compartment door. Disconnect drain tube from bottom of existing filter.
Disconnect the inlet and outlet air hoses from the filter. They will not be reused.
Remove the two bolts and mounting bracket and retain for installing new unit. Discard the removed unit.
Remove the pre-assembled front door water/oil/carbon separator from the box.
Note the push lock fittings. They swivel for installation and are already installed.

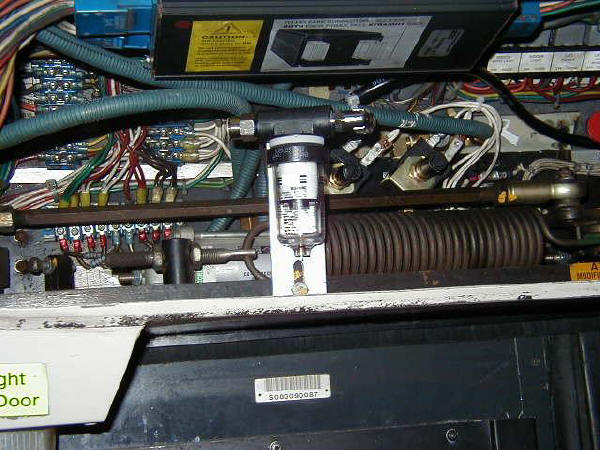
Install the new oil/carbon/water filter assembly. The tubing sizes are the same, right down to the automatic drain.
The front door is now protected.
Next, remove the compartment cover over the rear door.
Take the rear door oil/carbon filter and bracket from the box and install it in the compartment.
Open the rear door access compartment. This bus is shown on a life, but one is not necessary for installation.
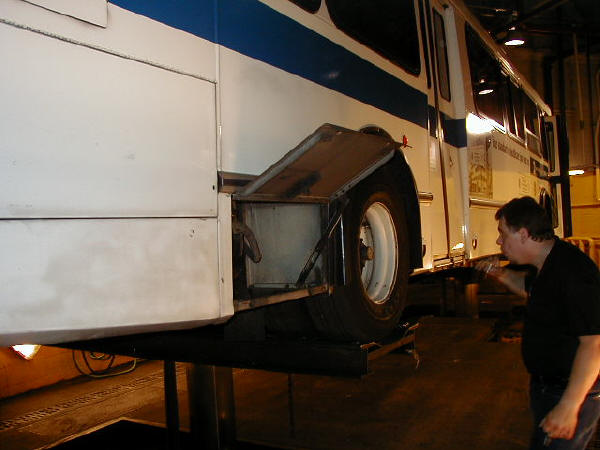
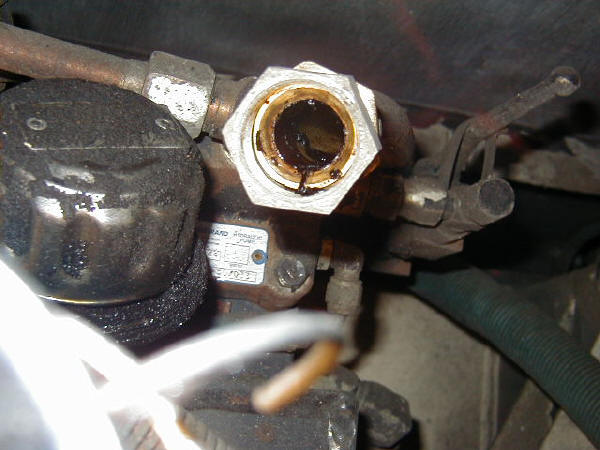
Remove the stainless steel braided line.
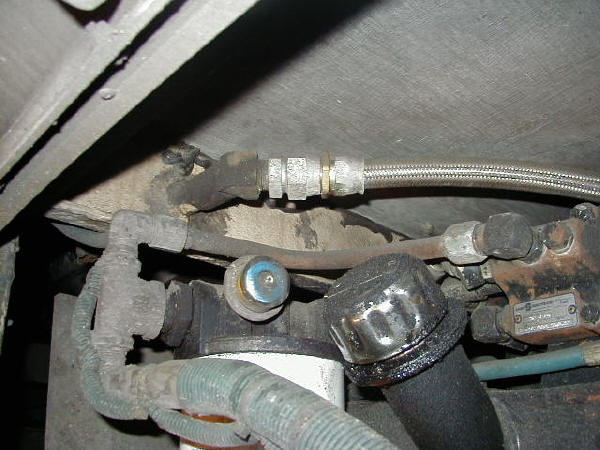
The photograph below shows oil and carbon present in the line.
Install the pressure relief valve and fittings.
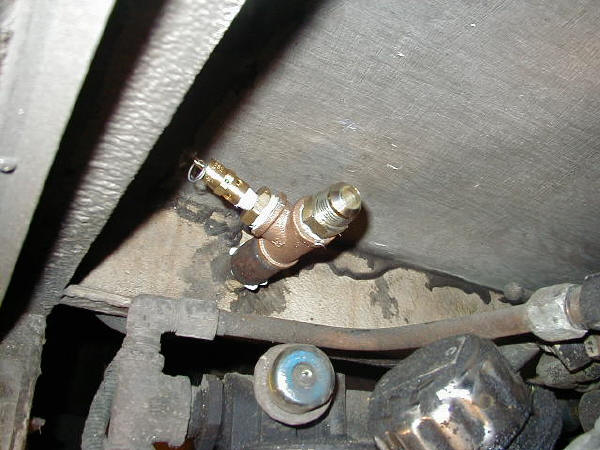
Install the provided hose fittings. Next install the filter head using the provided bracket:
Install the element and metal bowl. Connect the new stainless steel hose provided with the installation kit:
That's it! Start the bus and test for air leaks.
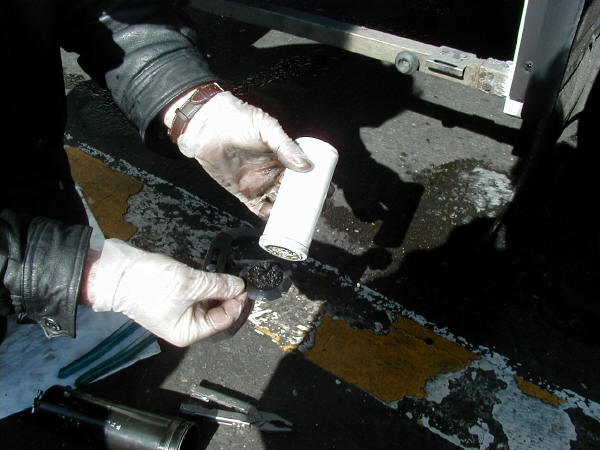 Twelve days later, four ounces of oil was
drained from this filter.
Twelve days later, four ounces of oil was
drained from this filter.
Note also the carbon collected (right hand is
holding collection).
It is important to realize that this oil and carbon did not enter into the air
system components on this bus!