secure the complete unit to the original mounting bracket using original nuts and bolts. From the parts bag, select a straight tubing fitting; 1/4" tube by 1/8" male npt. Screw the fitting into the knurled knob. Attach the water filter drain hose to the new fitting.
Trim 1/8" from the end of the inlet and outlet airlines. Install the provided brass inserts into inlet and outlet air lines. Attach the inlet and outlet hoses. Make sure that the fit is secure.
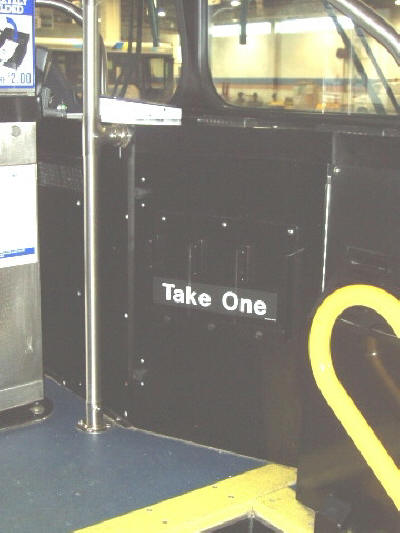
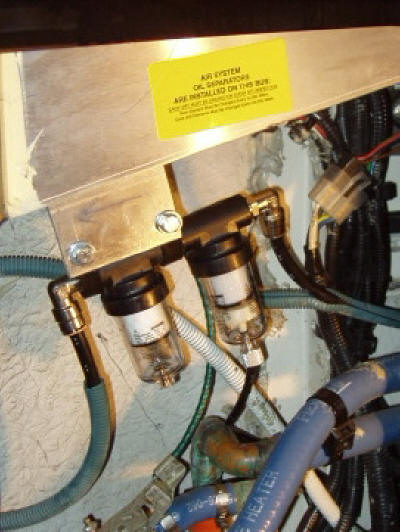
Place one of the provided yellow decals as shown in the photo.
Leave the door open, we will be testing for leaks at completion.
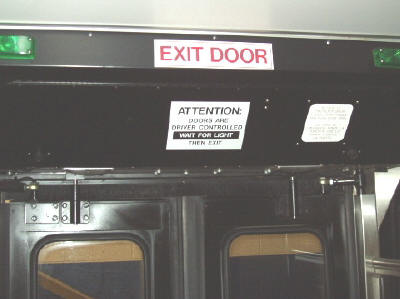
Open the panel.
Save the mounting brackets for re-use.
Cut 1/8" off from each line. Insert the brass eyelets in the inlet and outlet tube.
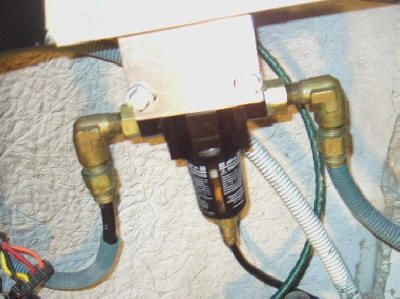
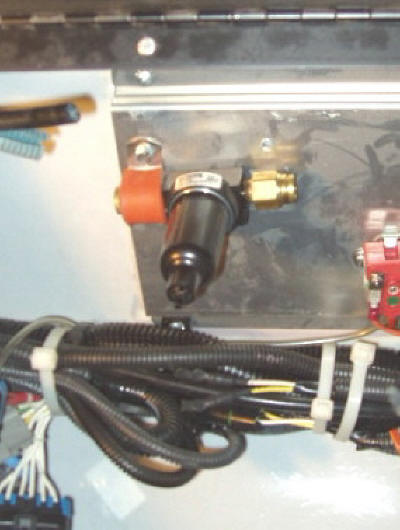
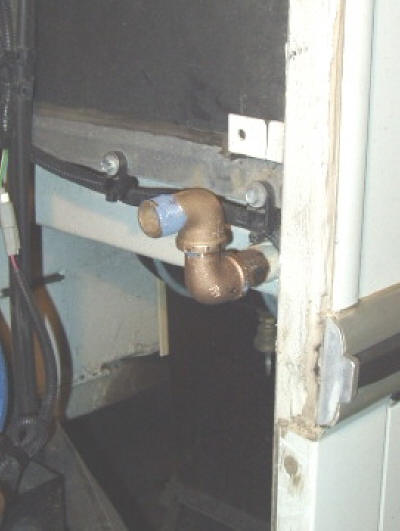
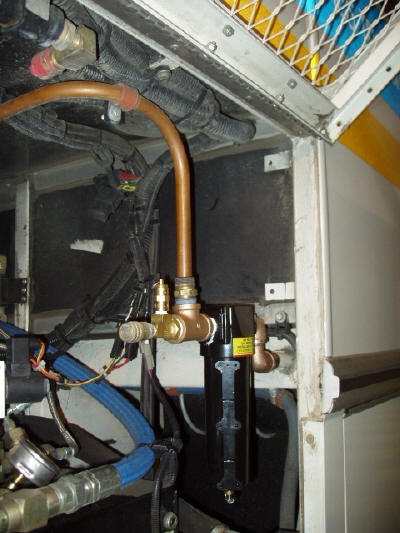
Attach the new oil/carbon filter to the same location the water filter was using the same p-clamps.
Attach the tubing to the oil/carbon filter.
Install one of the provided decals as shown in the photo.
Leave the access door open, we will be testing for leaks at completion.
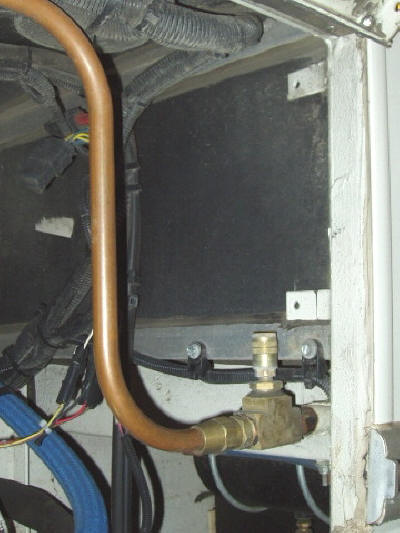
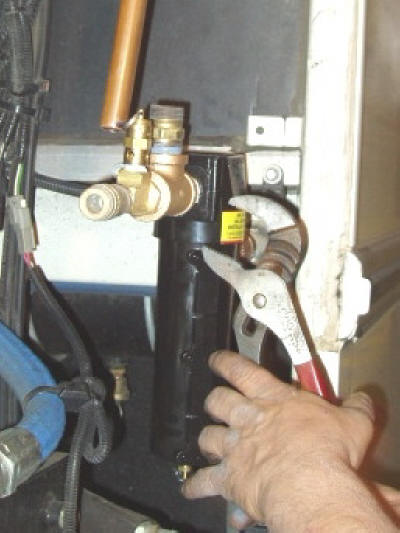
Remove the quick disconnect on top of the tee.
Save the quick disconnect for re-use.
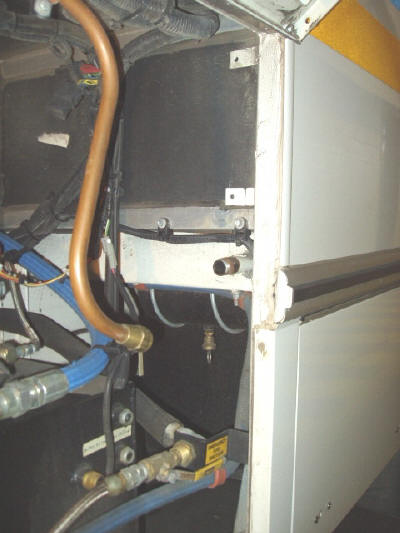
Remove the tee fitting.
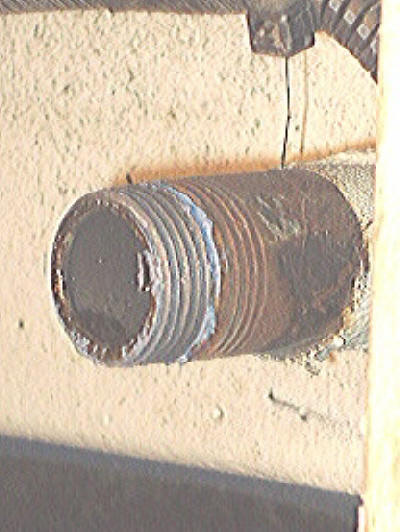
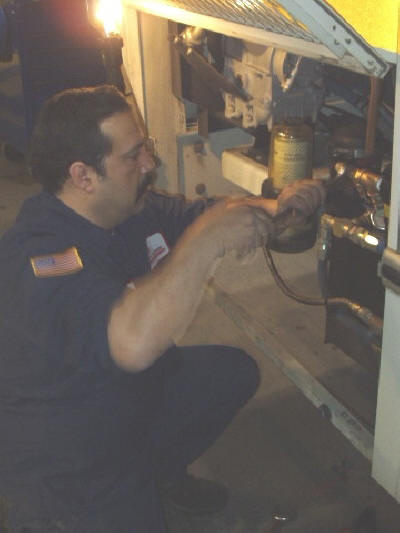
The black material shown in the photo is an oil/carbon mixture.
The filter you are installing will prevent this from happening!
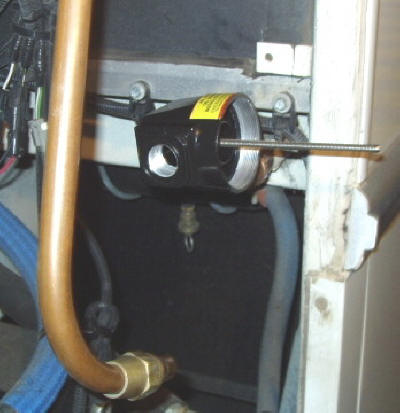
The filter head is stamped on one side with the word "IN". Make sure that this word is on your left. The decal on the filter head should face you.
NOTE THE POSITION OF THE ELEMENT WHEN REMOVING.
Attach the threaded rod to the filter head as shown.
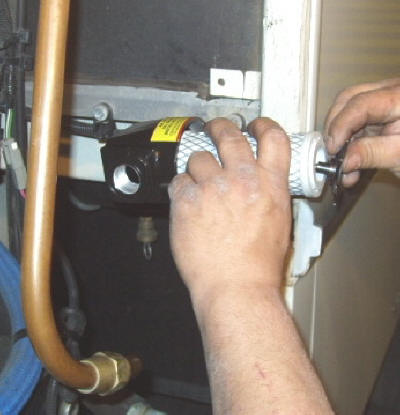
NOTE: The filter element will only fit in one direction.
The ID on top and bottom are different.
Take a look at the design of the element: It not only contains
a metal screen on the outside, but also has one on the inside.
This heavy duty element is build to last!
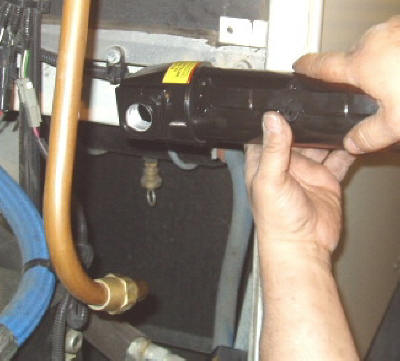
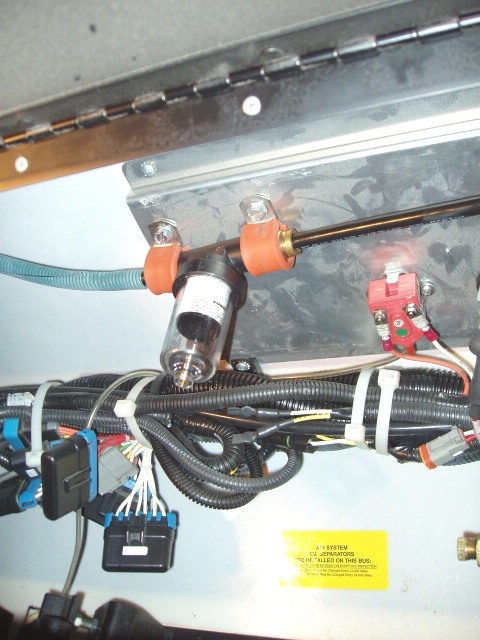
Carefully screw on the metal bowl to the filter head.
Move it into a vertical position.
Cut the tubing as shown in the photo.
Connect the tubing to the fitting. Remember to use a new ferrule.
Note: A new ferrule is provided for you in the kit!
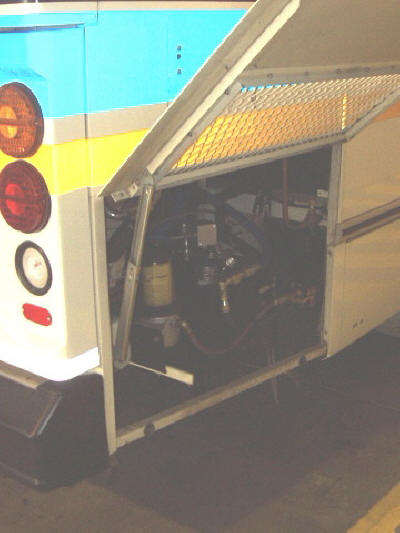
Affix the last decal to the engine compartment door.
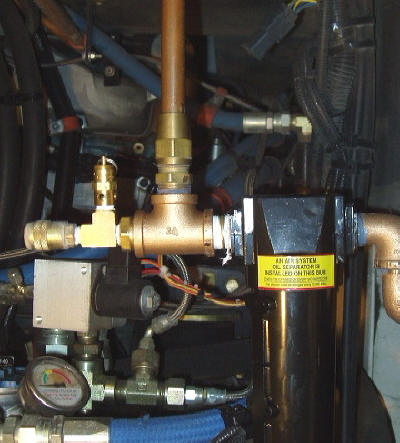
Note: The oil/carbon/air/water mixture will enter the filter from the left. The carbon will become trapped inside of the element as the oil/water and air mixture pass through.
The oil will fall into the collection bowl as the air and water mixture go on to the (now protected) air dryer.
Since the air dryer will not be exposed to oil and carbon, it can do a much better job removing the water.
As a bonus, the temperature of the mixture will cool about 50° as it passes through the filter! This enables the air dryer to remove even more water.